To install the Update Utility make sure to download the exe file from the download location provided to you from the email you received when you purchased the software.
The exe file name will be something like: Setup_UpdateUtility_V4.0.1.exe
- Double click on the icon. It looks like the following.

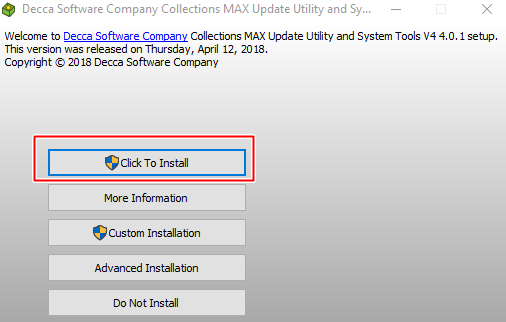
2. You will see the following screen. Just click on the Click to Install button as shown below.
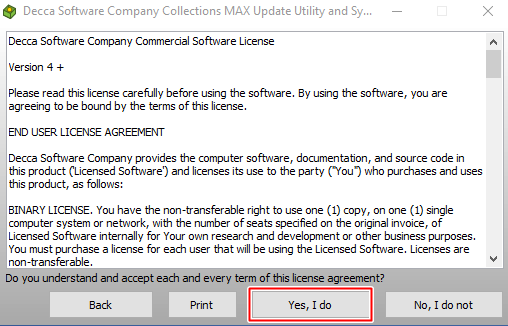
3. You will see the following screen if you never installed the Update Utility on the computer before. Click the Yes, I do button if you agree with the license.
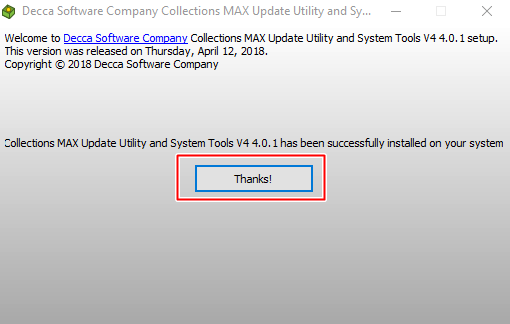
4. After everything installs just click the Thanks! button as shown below to close out the installer.
Activation
You should allow the program through the Windows Firewall before you activate it. For general instructions please see this link.
The link will show you how to allow Collections MAX Professional through the firewall but it is generally the same idea for the Update Utility except for the file name (UpdateUtility.exe)
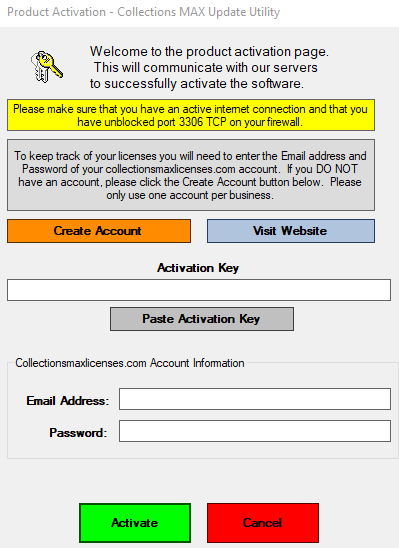
The first time you run the program after installation you will see an activation box like the box below. Simply paste the activation key (or sometimes called the license code) into the activation key white box (you can also copy the activation key and click on the Paste Activation Key button as well) and then enter your collectionsmaxlicenses.com account email and password and then click the Activate button.
If you don’t have a collectionsmaxlicenses.com account simply click the Create Account button to create one.
After activation simply double click on the program again to finalize it.