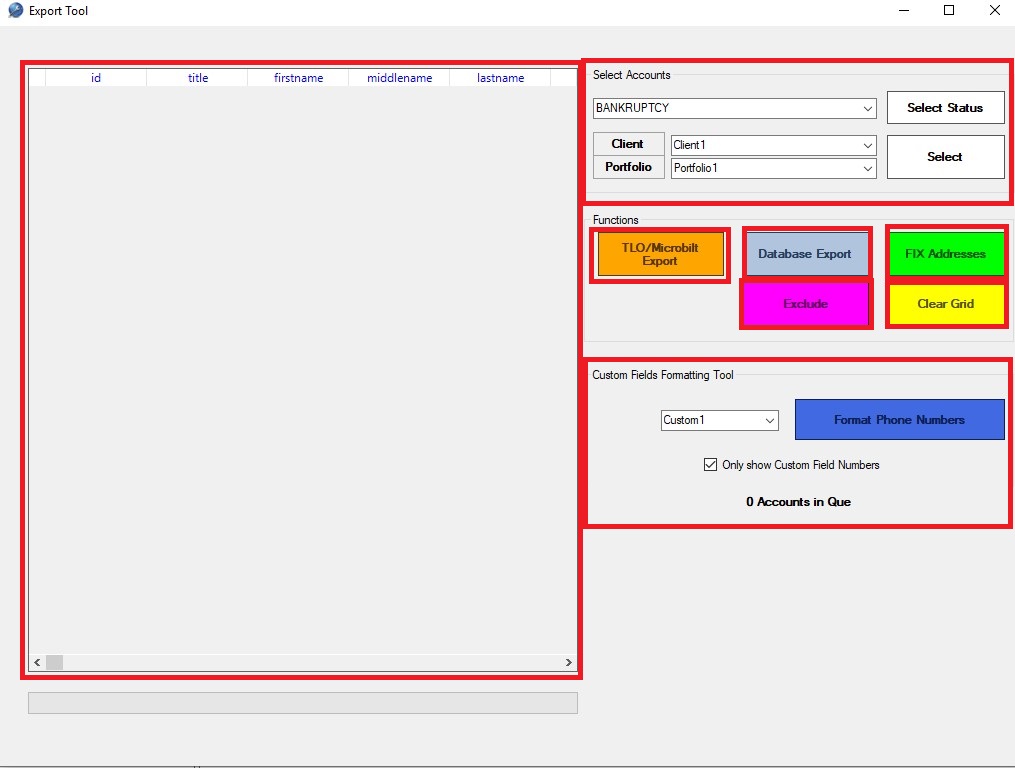
The export tool allows you to export your accounts to different formats. Please note that exporting in Collections MAX is not the same as DELETING the accounts. When you export accounts the accounts stay in the system but they get transferred into the format you choose.
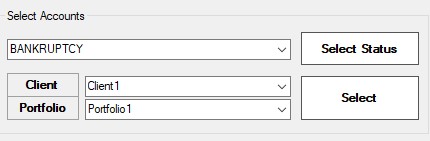
To first select which accounts you want to load in the left data grid you need to go to the above section of the form. You can select accounts by status by selecting the status in the dropdown box (here Bankruptcy is displayed) and then clicking the Select Status button.
You can also select by Client and Portfolio by selecting the drop down boxes. When you select a particular client then only portfolios from that client are displayed.
Click the Select button to fill the data grid on the left. You can only export accounts that are listed in the left data grid.
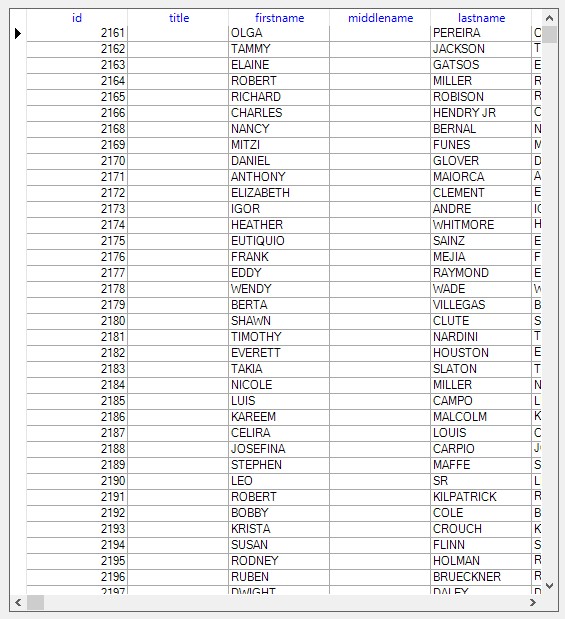
After you have clicked on one of your select buttons your left data grid will fill like it is above. Now that we have some data loaded we can export these accounts.
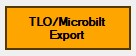
The TLO / Microbilt Export button will allow you to save a .csv file that is compatible with the TLO or Microbilt format for batch append file skip tracing.
Clicking on the Database Export button brings up a bunch of different options to export the accounts to. You will see the following popup.
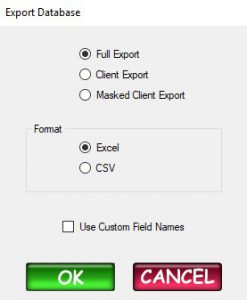
Full Export – Basically every field in the dbase table. This is considered to be a full export.
Client Export – A cut down version of the Full Export. This export would be suitable for clients.
Masked Client Export – Certain fields that have sensitive data will be XXXXXXXXXXX out automatically so you can share these exports when selling portfolios.
Much like a preview file.
Selecting the Excel button in the Format section will output the file to Microsoft Excel and selecting the CSV button will output the file to CSV (comma seperated value).
The Use Custom Field names selection will change the Custom1, Custom2, Custom3…etc field names and replace them with the ACTUAL custom field names that you mapped the custom fields to. So if Custom1 was Reference1 you would see Reference1 in place of Custom1. This works with all selections except for Masked Client Export.
The Fix Addresses button will fix the addresses that were either blank or had returned mail on them by locating the address log and inserting the addresses from there. This is important to do BEFORE you export the file and will give your clients or the person purchasing your portfolio more information about the debtor.

The exclude button will remove the selected account from the data grid so that account does not get exported. It can only remove one account at a time.
![]()
The clear grid button will completely remove ALL of the accounts from the left data grid.
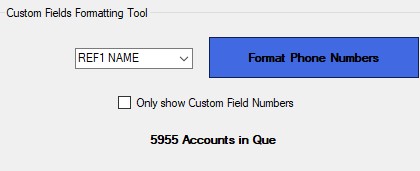
The custom fields formatting tool will allow you to select custom fields and format those fields as a phone number for easy searching using Collections MAX Professional.
When you select a custom field column in the drop down box and click the Format Phone Numbers button the software will format all those accounts in the data grid for that particular column into a phone number in ###-###-#### format.
By putting a checkmark in the Only show Custom Field Numbers box the drop down box will only show Custom1 – Custom60 fields instead of any custom field names that you created in the system prior.